


WindowsのOrtho4XPとpython3の導入
python-3.Xが必要です。
Ortho4XPをダウンロード
ここから:https://www.dropbox.com/sh/cjjwu92mausoh04/AACt-QzgMRwKDL392K_Ux3cPa?dl=0
このサイトの右上のダウンロードからダウンロードすることが出来ます。
Python 3をダウンロード
まず、WindowsにPython が入っているかどうかの確認
> python -V
又は
> python --version
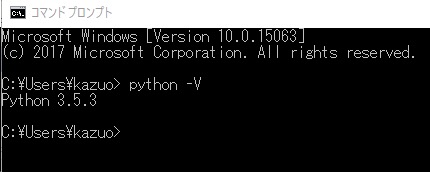
このPython 3.X.Xがでればアクティブになっていて、Ortho4XPで使用することができます。
python2.7.Xとか又は入っていない場合、Python 3.X.Xのインストールが必要
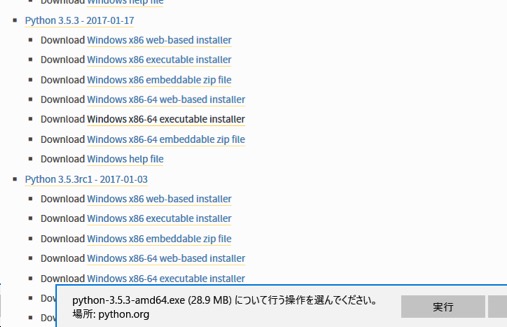
ダウンロード先:https://docs.python.org/3.5/download.html
下の画像のpython-3.5.3の5番目「Windows x86-64 executable installer」を選択
ダウンロードしたら実行を選択。
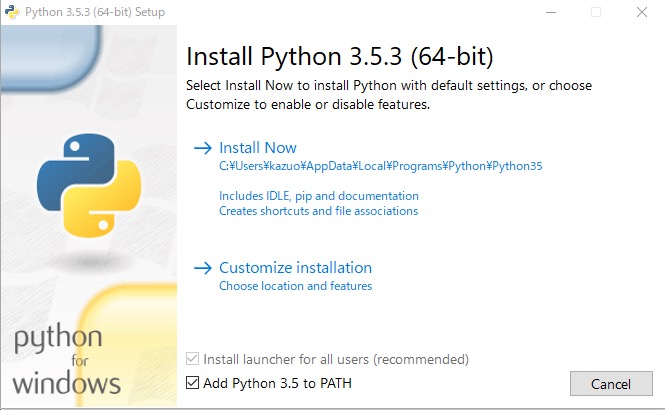
一番下のAdd Python 3.5 PATHにチェックを入れる(これ重要)
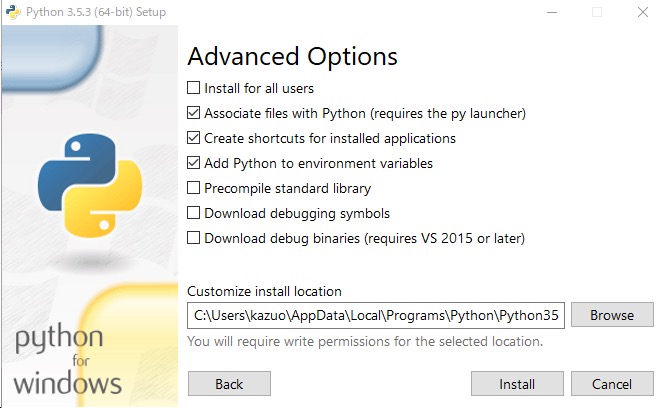
Customize installationをクリック
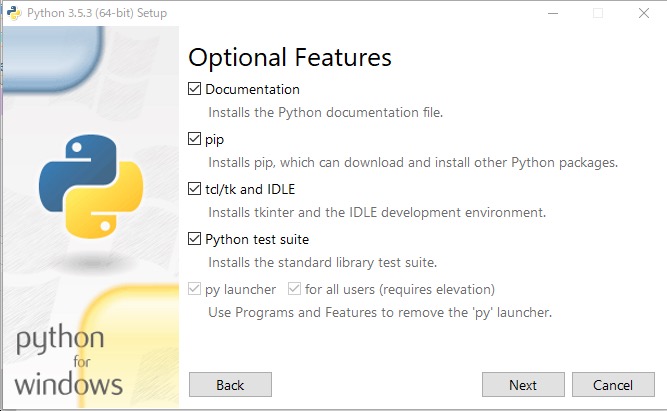
全てにチェックを入れる
NEXTで次へ
デフォルトでは以下の場所がインストール先になっている。
インストール場所を変更
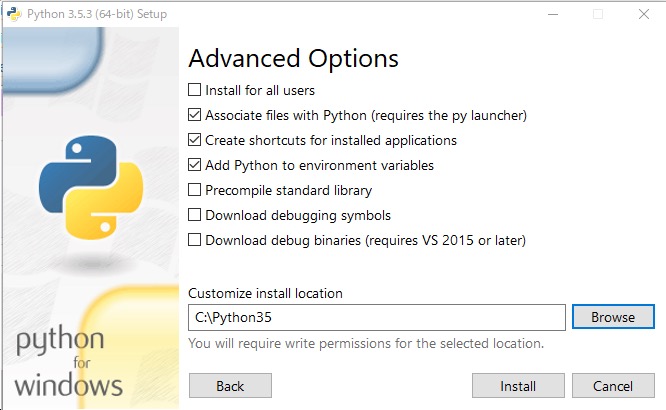
ここに入りました。
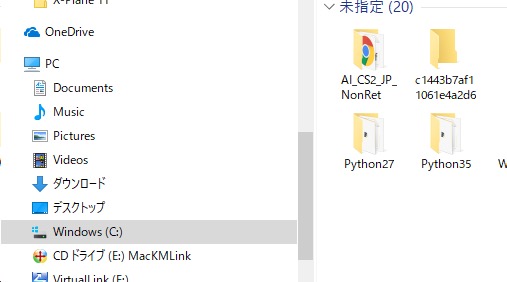
インストール後の確認
> python -V
又は
> python --version
このようになればOKです。

ーーーーーーーーーーーーーーーーーーーーーーーーーーーーーーーーーーーーーーーーーーーーーーーーー
pythonを動かすのに必要なものをインストール
https://www.youtube.com/watch?v=R8Y15hugtSI
このビデオを見ながらインストールしました、これを見ながら以下を実行するとより分かりやすいと思います。
但し、ここで使用されているOrtho4XPは古いですが、新しいOrtho4XPで問題ありません。
python パッケージをインストールします。
http://www.lfd.uci.edu/~gohlke/pythonlibs/
このページの14行目付近の文章内に以下の項目があります。

Visual Stydioのダウンロードページに入ります。これも必要です。すでに新しいバージョンをインストールしているなら不要。
ビデオではVisual Stydio 2015の64ビットが選択されています。
ダウンロードが完了すると vc_redist.x64.exe があるのでダブルクリックでインストールする
(他の新しいバージョンのVisualStdioを入れていると失敗するかも、新しいのを使います。)
ーーーーーーーーーーーーーーーーーーーーーーーーーーーーーーーーーーーーーーーーーーーーーーーーー
次に最初のページに戻って少し下に移動「gdal」を探してクリック(検索ウインドウがあればそこから探す)。
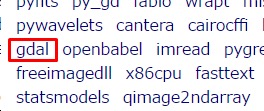
以下を選択してクリック、ダウンロード(これはpython3.6用かも、もしエラーなら自分のバージョンを確認)

私の場合はpython3.5だったのでこれらしい。
GDAL-2.1.3-cp35-cp35m-win_amd64.whl
ーーーーーーーーーーーーーーーーーーーーーーーーーーーーーーーーーーーーーーーーーーーーーーーーー
同じように前のページに戻って pyproj をダウンロード

同じように pillow をダウンロード(これwin32ではなくwin64である、間違い)

これが本当:Pillow-4.1.1-pp257-pypy_41-win64.whl
同じように numpy をダウンロード

これは少し時間がかかる
ダウンロードフォルダに以上がダウンロードされました。
これを使ってコマンドプロンプトで以下のようにインストールを実行します。
ーーーーーーーーーーーーーーーーーーーーーーーーーーーーーーーーーーーーーーーーーーーーーーーーー
Ortho4XPに必要なツールを入れる
ここからは、コマンドプロンプトを起動します。
コマンドプロンプトで以下のように入力し、エンターキーを押します。

> pip install requests
> pip install overpy
> pip install Pillow-4.1.1-pp257-pypy_41-win64.whl
> pip install pyproj-1.9.5.1-cp36-cp36m-win_amd64.whl
> pip install GDAL-2.1.3-cp36-cp36m-win_amd64.whl
> pip install numpy-1.13.0+mkl-cp36-cp36m-win_amd64.whl
ーーーーーーーーーーーーーーーーーーーーーーーーーーーーーーーーーーーーーーーーーーーーーーーーー
次にimagemagickのインストール
https://www.imagemagick.org/script/index.php
メニューのDownloadタブをクリック
下の方にある、Windows Binary Release を探す、最新バージョンをダウンロード

ダブルクリックで開く

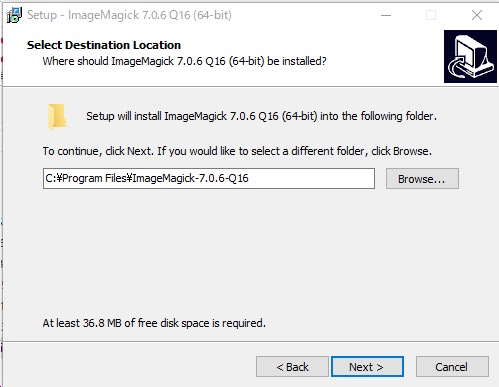
ここにインストール
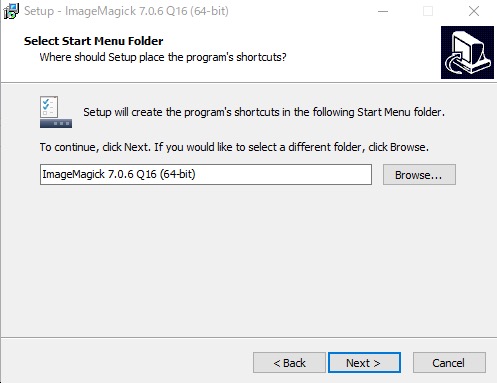
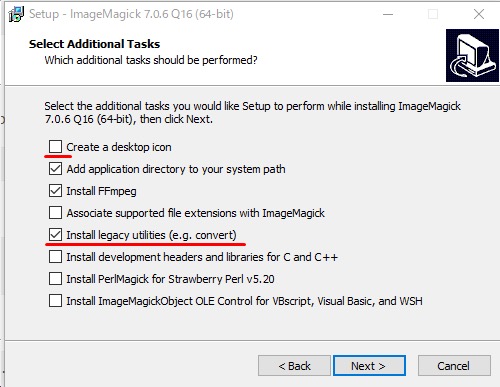
Nextでインストール
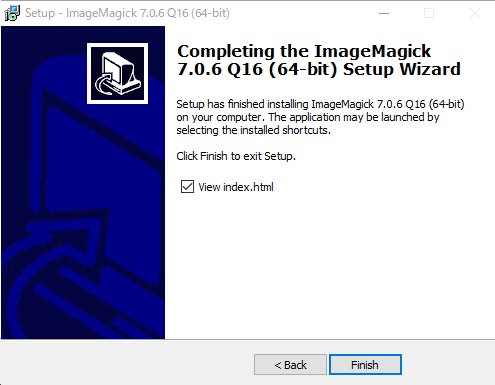
Finishで終了。
ビデオでは次にGIMPのインストールになるが、単にOrtho4XPを使うだけなら必要ないと思います。
以上でエラー無く実行されたら、いよいよOrtho4XPを起動します。
Ortho4XP/bin/Ortho4XP_v120b.exeをクリックして起動します。
Ortho4XPをダウンロード
ここから:https://www.dropbox.com/sh/cjjwu92mausoh04/AACt-QzgMRwKDL392K_Ux3cPa?dl=0
このサイトの右上のダウンロードからダウンロードすることが出来ます。
Python 3をダウンロード
まず、WindowsにPython が入っているかどうかの確認
> python -V
又は
> python --version
このPython 3.X.Xがでればアクティブになっていて、Ortho4XPで使用することができます。
python2.7.Xとか又は入っていない場合、Python 3.X.Xのインストールが必要
ダウンロード先:https://docs.python.org/3.5/download.html
下の画像のpython-3.5.3の5番目「Windows x86-64 executable installer」を選択
ダウンロードしたら実行を選択。
一番下のAdd Python 3.5 PATHにチェックを入れる(これ重要)
Customize installationをクリック
全てにチェックを入れる
NEXTで次へ
デフォルトでは以下の場所がインストール先になっている。
インストール場所を変更
ここに入りました。
インストール後の確認
> python -V
又は
> python --version
このようになればOKです。
ーーーーーーーーーーーーーーーーーーーーーーーーーーーーーーーーーーーーーーーーーーーーーーーーー
pythonを動かすのに必要なものをインストール
https://www.youtube.com/watch?v=R8Y15hugtSI
このビデオを見ながらインストールしました、これを見ながら以下を実行するとより分かりやすいと思います。
但し、ここで使用されているOrtho4XPは古いですが、新しいOrtho4XPで問題ありません。
python パッケージをインストールします。
http://www.lfd.uci.edu/~gohlke/pythonlibs/
このページの14行目付近の文章内に以下の項目があります。
Visual Stydioのダウンロードページに入ります。これも必要です。すでに新しいバージョンをインストールしているなら不要。
ビデオではVisual Stydio 2015の64ビットが選択されています。
ダウンロードが完了すると vc_redist.x64.exe があるのでダブルクリックでインストールする
(他の新しいバージョンのVisualStdioを入れていると失敗するかも、新しいのを使います。)
ーーーーーーーーーーーーーーーーーーーーーーーーーーーーーーーーーーーーーーーーーーーーーーーーー
次に最初のページに戻って少し下に移動「gdal」を探してクリック(検索ウインドウがあればそこから探す)。
以下を選択してクリック、ダウンロード(これはpython3.6用かも、もしエラーなら自分のバージョンを確認)
私の場合はpython3.5だったのでこれらしい。
GDAL-2.1.3-cp35-cp35m-win_amd64.whl
ーーーーーーーーーーーーーーーーーーーーーーーーーーーーーーーーーーーーーーーーーーーーーーーーー
同じように前のページに戻って pyproj をダウンロード
同じように pillow をダウンロード(これwin32ではなくwin64である、間違い)
これが本当:Pillow-4.1.1-pp257-pypy_41-win64.whl
同じように numpy をダウンロード
これは少し時間がかかる
ダウンロードフォルダに以上がダウンロードされました。
これを使ってコマンドプロンプトで以下のようにインストールを実行します。
ーーーーーーーーーーーーーーーーーーーーーーーーーーーーーーーーーーーーーーーーーーーーーーーーー
Ortho4XPに必要なツールを入れる
ここからは、コマンドプロンプトを起動します。
コマンドプロンプトで以下のように入力し、エンターキーを押します。
> pip install requests
> pip install overpy
> pip install Pillow-4.1.1-pp257-pypy_41-win64.whl
> pip install pyproj-1.9.5.1-cp36-cp36m-win_amd64.whl
> pip install GDAL-2.1.3-cp36-cp36m-win_amd64.whl
> pip install numpy-1.13.0+mkl-cp36-cp36m-win_amd64.whl
ーーーーーーーーーーーーーーーーーーーーーーーーーーーーーーーーーーーーーーーーーーーーーーーーー
次にimagemagickのインストール
https://www.imagemagick.org/script/index.php
メニューのDownloadタブをクリック
下の方にある、Windows Binary Release を探す、最新バージョンをダウンロード
ダブルクリックで開く
ここにインストール
Nextでインストール
Finishで終了。
ビデオでは次にGIMPのインストールになるが、単にOrtho4XPを使うだけなら必要ないと思います。
以上でエラー無く実行されたら、いよいよOrtho4XPを起動します。
Ortho4XP/bin/Ortho4XP_v120b.exeをクリックして起動します。